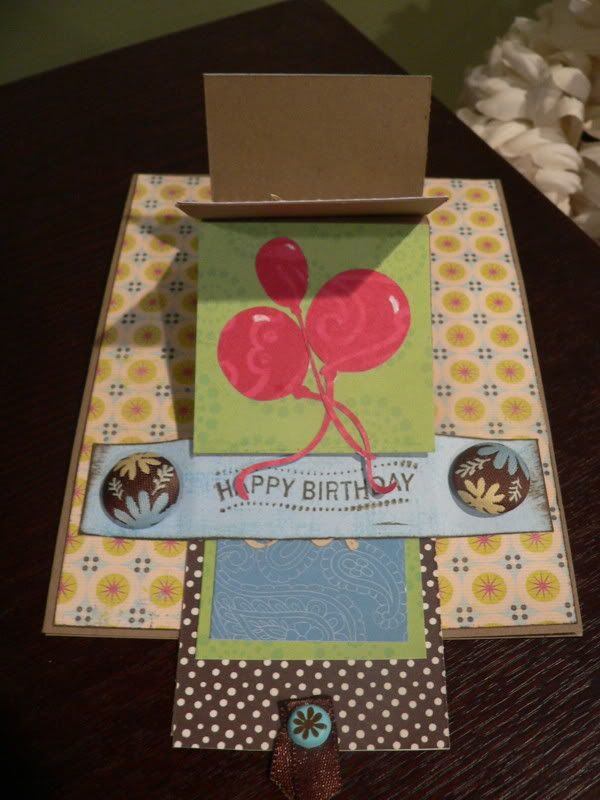
After seeing this technique I just knew I had to try it! So here's my take on it...
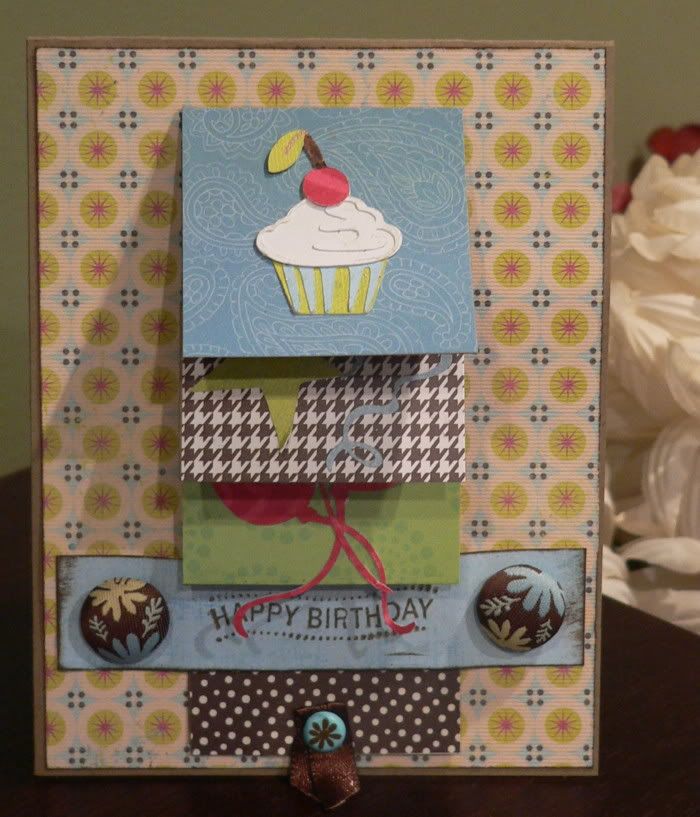
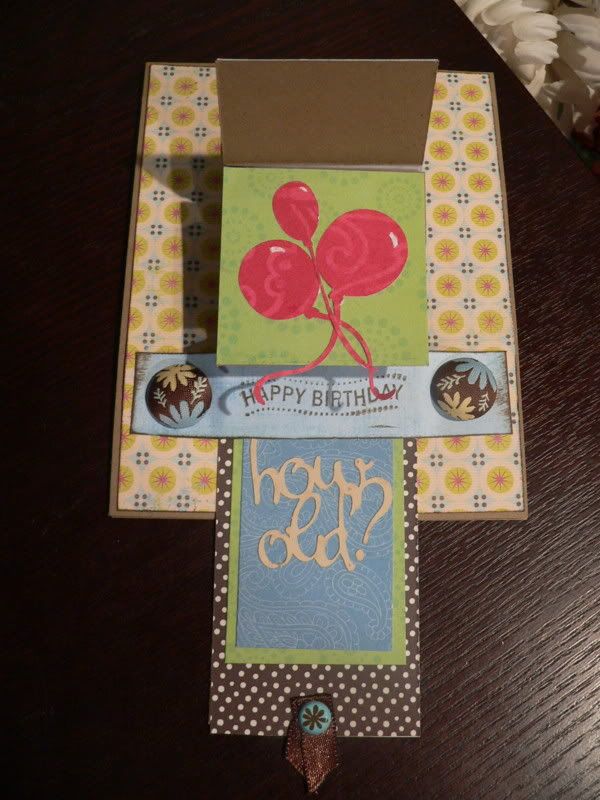
As you pull down on the ribbon at the bottom, the layers start to unfold...
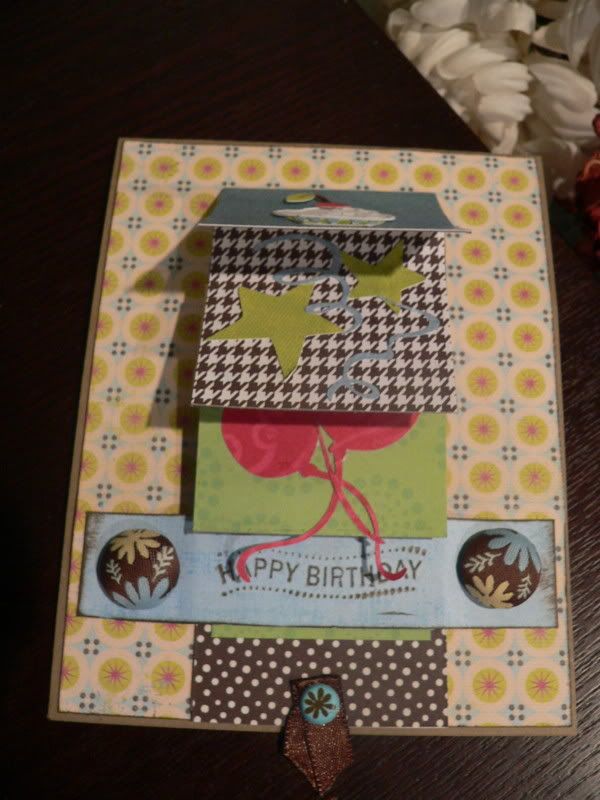
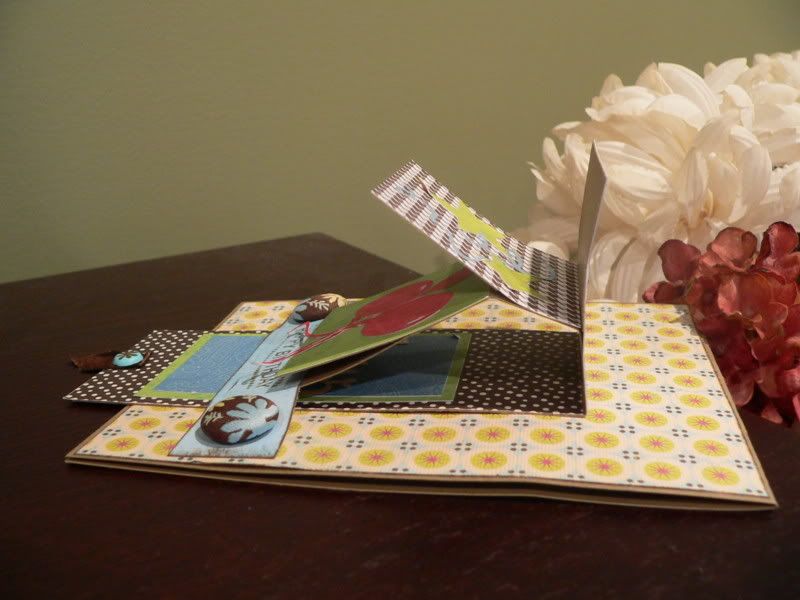
In this next picture you can see what it looks like from the side as it unfolds...
Since this technique takes a little bit of explaining, I thought I would make another video! But before you watch, you may be interested to know which cartridges went into making the card in the pictures above:Cupcake - From My Kitchen pg 61
Stars - Beyond Birthdays pg 91
Streamers - Wild Card pg 37
Balloons - Stretch Your Imagination pg 60
How Old? - Lyrical Letters pg 70
The big brads are from K&Company; the little brad is Recollections; the papers are from K&Company, The Paper Studio, Carolyn Gavin, and some scraps from my stash; and I'm actually not sure who the stamp is by (sorry!!) but it was from a larger stamp that I had cut up.
So...here's the video, I hope you enjoy!!
Thanks for visiting!
Kate
Very cute! I wrote the directions down for this one and the cake. I am going to try these this week, hopefully!
ReplyDelete