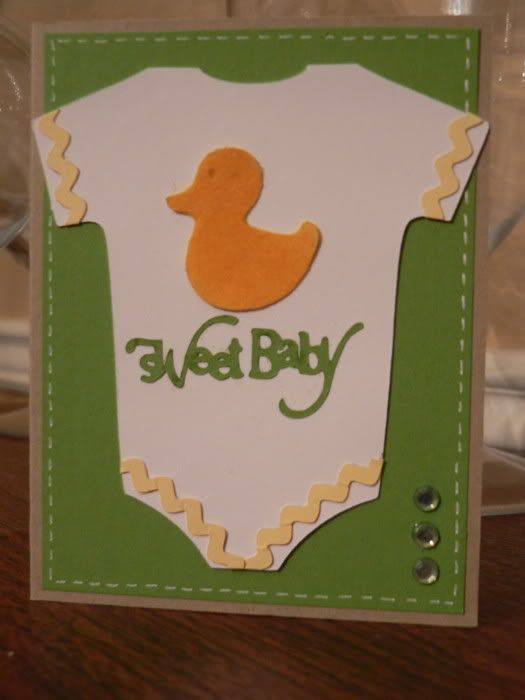
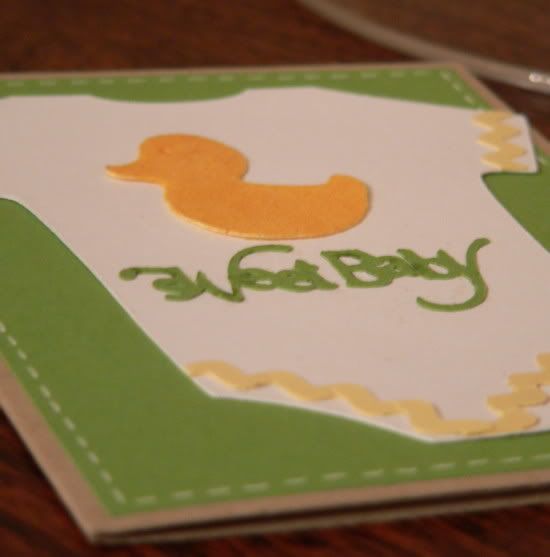
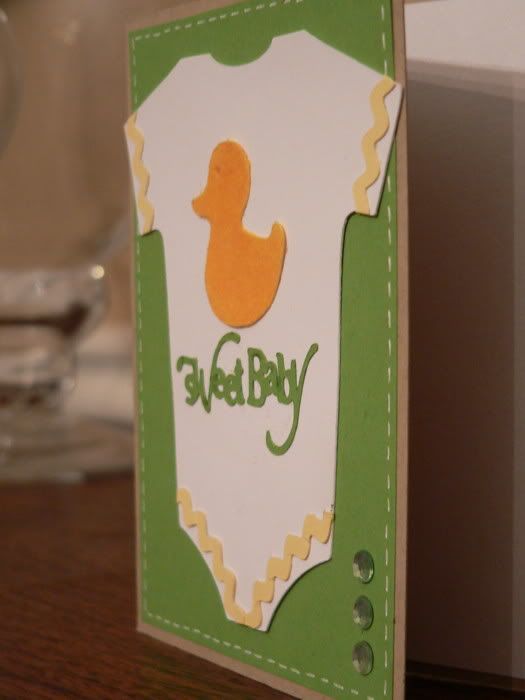
Hi everyone! I'm back with another one of my creations for the baby boutique. This one is a gender neutral baby card. I knew that I wanted to make a onesie card from the start, so I got to work on this little cutie!
The onesie is cut from Wall Decor and More and the "rickrack" is from Plantin Schoolbook. I used my Gypsy to weld a bunch of the rickrack together to make some long strips. Once they were cut out on the cricut, I cut them down to fit the different parts of the onesie. It was easier to "mold" them to the shape of the onesie that way.
The little duck is from Wild Card. I cut him out on yellow cardstock, ran the cutout through my Xyron sticker maker, and applied some yellow flocking. I love the dimension and softness this brought to the design.
The sweet baby sentiment is cut from Gypsy Wanderings. I have to say, this was a little tricky because at first, I used some cardstock that was just too thick which made the cut sort of "messy". It was much better once I switched to some "lighter" cardstock.
I added a few crystals and some white faux stitching with a gel pen and the masterpiece was complete! As always, I appreciate you visiting and I will be back (hopefully) tomorrow with another creation! Stay tuned!
Kate
As a mom of three boys, the only time I seem to have to do the things I love is on the fly. I love card making as well as other paper related crafts and this blog is dedicated to that passion!
Wednesday, September 21, 2011
Monday, September 19, 2011
My latest adventure!
Hi everyone! While I haven't been posting for a while, I can promise you I have been a busy little crafter! I am embarking on a new adventure...I've started selling my work! I've wanted to do this for some time, but I hadn't yet found the right outlet...that was until my friend Laura introduced me to the sweetest gal (Shannon) who owns a little baby boutique in town (Mama's Hip). Shannon was looking for someone to supply her store with some handmade cards, and Laura suggested we meet. Well long story short...Shannon agreed to give me a little space in her store to start selling! I have made up some business cards and I'm hoping that someone may even be interested in having me make some custom projects for them. I'm so excited!
I am actually selling my cards to Shannon at wholesale prices, so this is not really the way to turn a big profit, but it's definitely a start. Shannon asked me to make 30 cards to start with, so I decided to make 6 designs and make 5 of each design. So, I plan to share one card a day with you for the next week or so. Keep in mind that this is a baby boutique so all of these cards are baby themed.
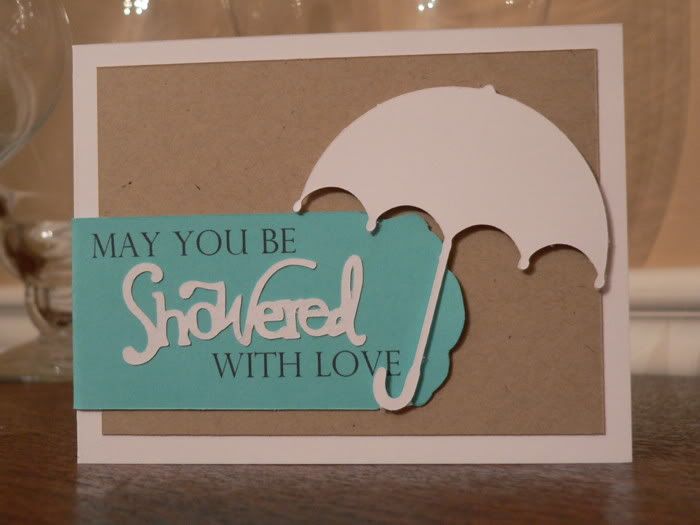
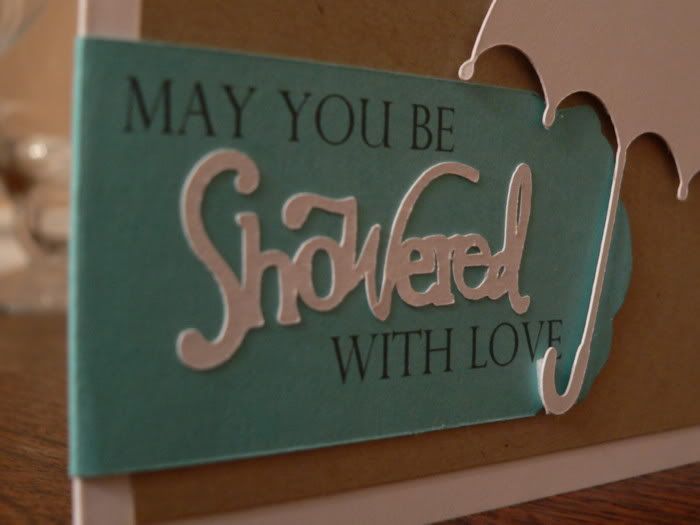
The first card I have to share is a shower card that would be appropriate for a mom expecting a boy, girl or a ??? baby. The background is white cardstock layered with kraft. I used the April Showers cart for the umbrella and cut it in white cardstock.
The strip across the front is cut from PTI's Hawaiian Shores cardstock in the shape of PTI's Half & Half pattern. I have the Half & Half stamp set, but I have not yet purchased the die set, so I just stamped one of the shapes onto some cardstock and cut around with scissors. I then used this as a pattern to make the ones that went on the cards. I used my computer to print the "May you be...with love" sentiment, and I used my gypsy and created the Shower cut using Gypsy Wanderings (Shower), Lyrical Letters (e) and Jasmine (d). This was cut on white cardstock and stretegically applied to the Hawaiian Shores layer. I love the way that this card turned out and I sure hope the store patrons like it too!
As always, thanks for visiting! Your comments are always welcome!
Kate
Wednesday, September 7, 2011
Cole's Train Party
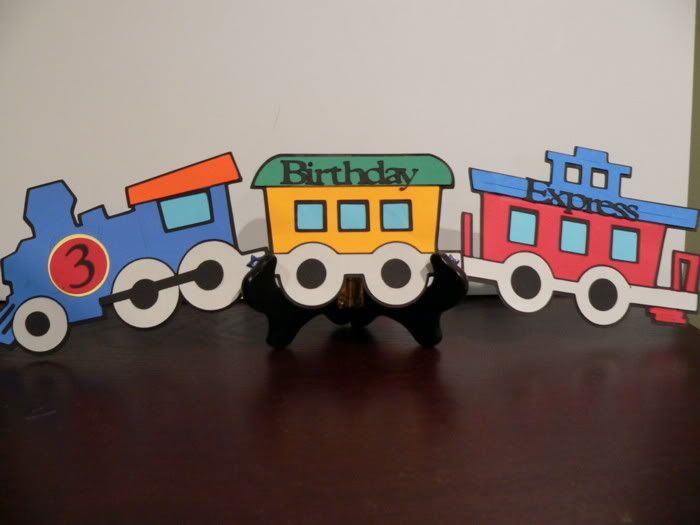
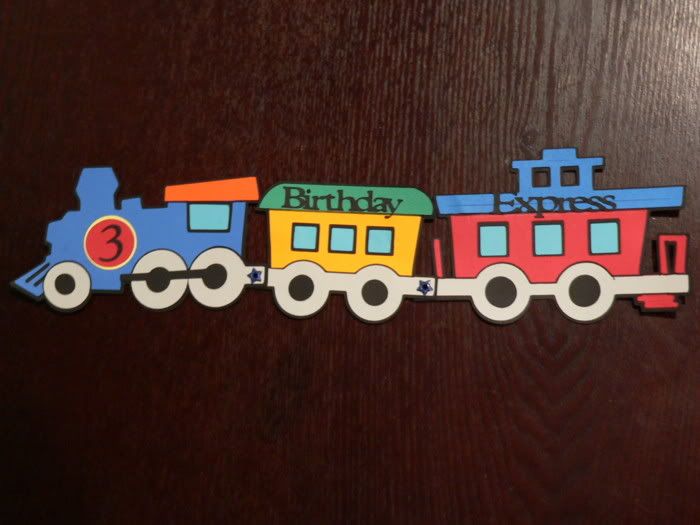
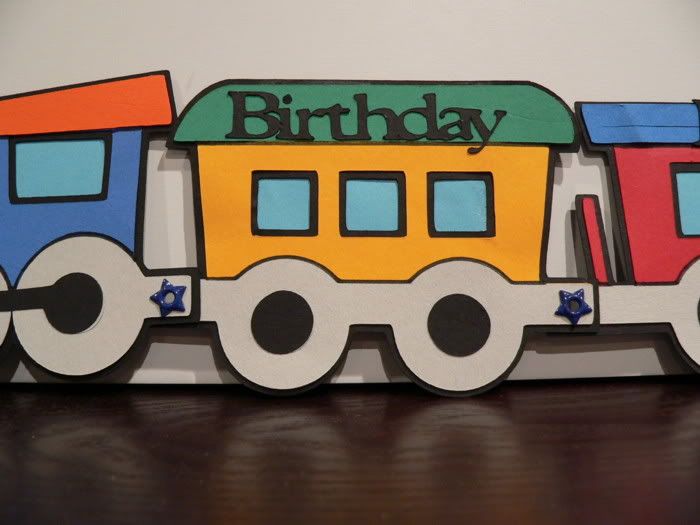
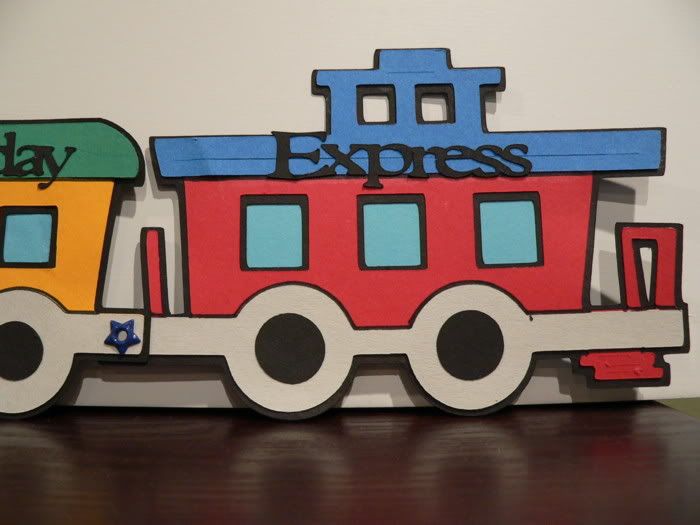
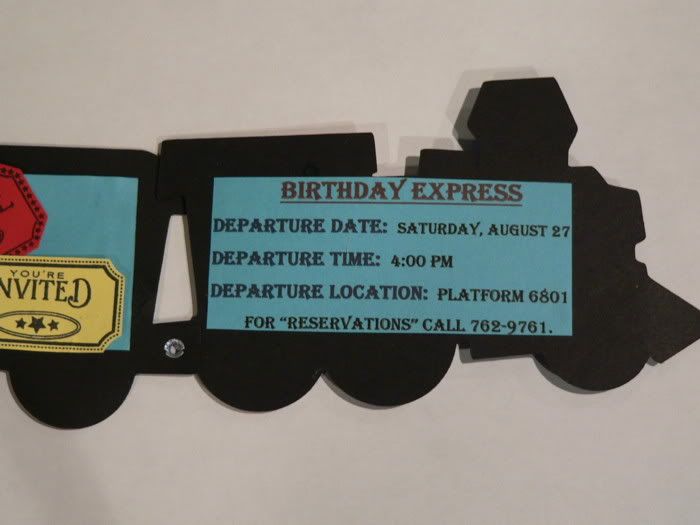
Hi everyone! I have quite a lengthy post for you today! My youngest son Cole recently turned 3 and we had a big train themed party for him. He loves trains!! So...it was Cricut to the rescue as usual! I started with the invitations, and I knew I wanted to make them train shaped...the problem was, which cut would I choose. I finally settled on the trains on the My Community cart. I sized them up on my Gypsy and got to cutting! I had to make 16 invites, so this one got really time intensive as you can imagine!
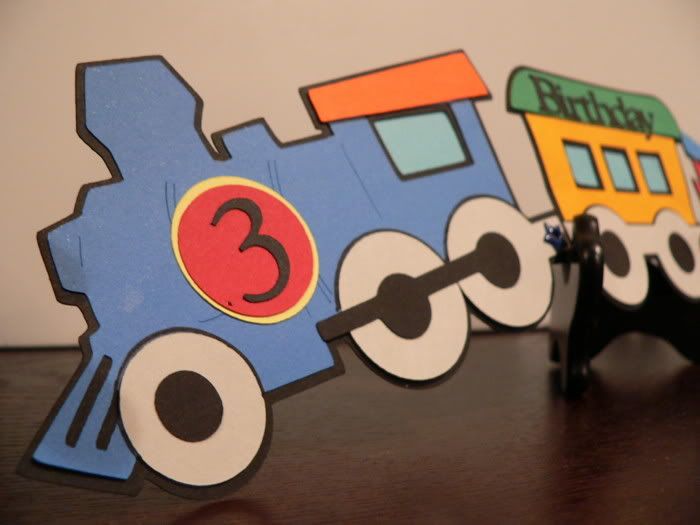
For the engine car, I cut out two circles and the number 3 using the Plantin Schoolbook cart and layered them together to create a simple embellishment. For the center car and the caboose, I cut the words "Birthday Express" using Plantin Schoolbook and my Gypsy. After all the cutting and gluing, I had to decide how to connect the cars. I decided to use star brads which turned out really cute! The brads also allowed me to "fold" the train up to fit into the envelope.
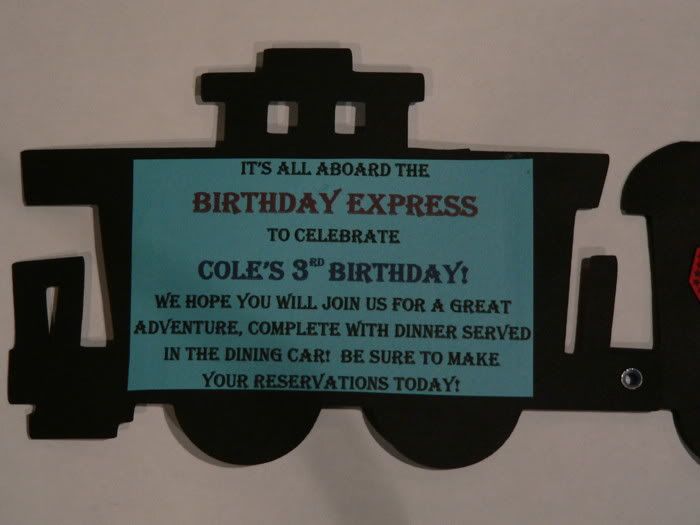
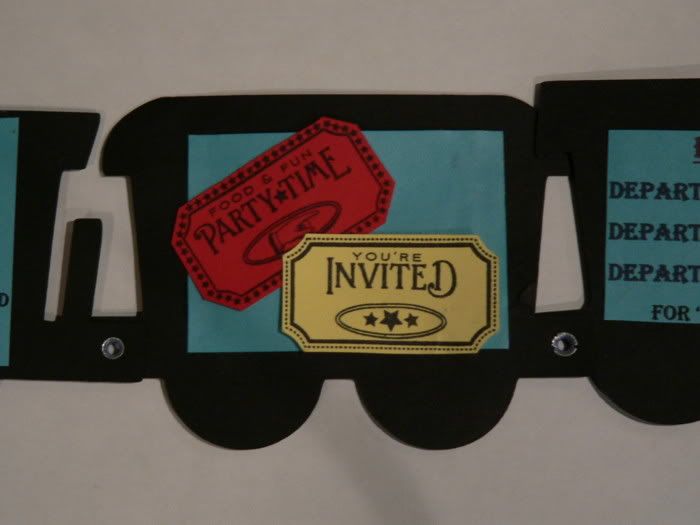
On the back of the invites I had to figure out a way to include all the party info. I thought that I would cut the blue paper in the train shapes, but then I didn't know how I would get the wording printed on them correctly. Any method I thought of became too time consuming. So, I chose to simply print the information on blue paper and cut it out in rectangles that fit inside the black train shadow cut. The little tickets on the center car were created with the PTI Just the Ticket stamp set. I stamped the images and then hand cut them. I have to admit that these are one of my favorite invitations I have ever made!
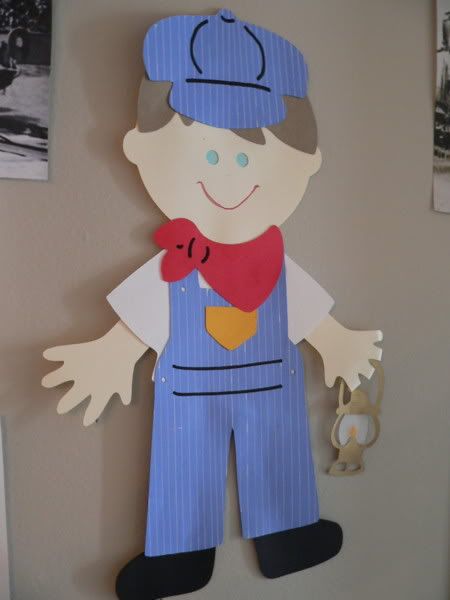
For the party, I had lots and lots of model trains to set around for decorations, and I also printed out lots of train images from the internet to hang on the walls, but of course I wanted some handmade decorations. I started with the conductors. These came from the Paperdolls for Everyday cart. I blew them up big on my Gypsy and cut them using solid colored cardstock. I wanted the overalls to be striped, so I got out my white gel pen and a ruler and added some! The little lanterns were cut with gold metallic paper and vellum.
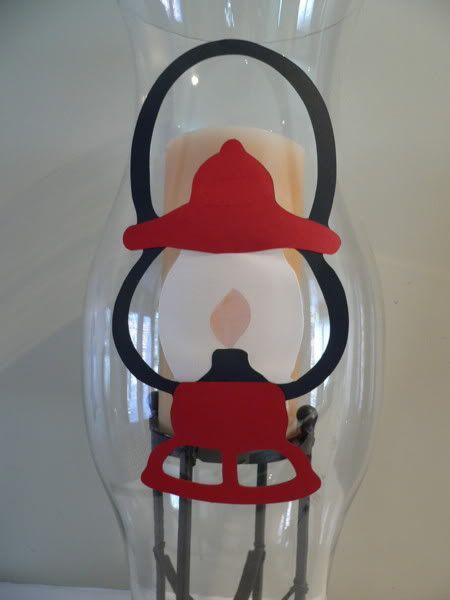
The large lanterns were cut with red and black cardstock and vellum. These cuts also came from the Paperdolls for Everyday cart. With some help from my Gypsy, I was able to hide certain cuts that allowed me to eliminate the flame when I cut the lantern out in vellum. After cutting in all three colors, I hand cut them apart and reassembled them to look like real little lanterns. These are some of my favorite decorations from this party! I just love the way the vellum looks like frosted glass.
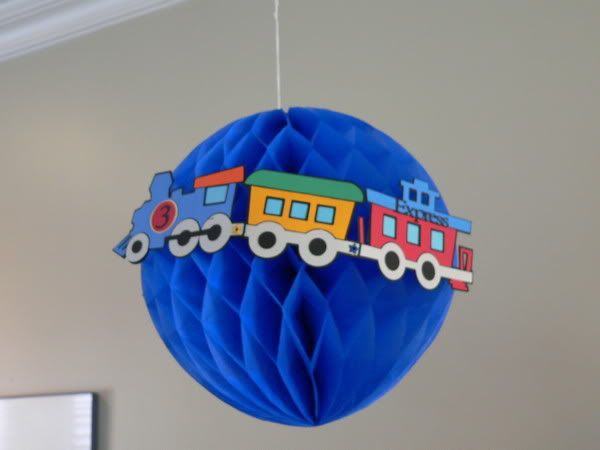
I purchased some tissue paper balls from the card store to use as decorations...but of course I couldn't leave them plain. I adhered some of the left over invites to a couple of the balls and some of the conductors and lanterns to another. These turned out really cute. I'll have to remember this for other parties!
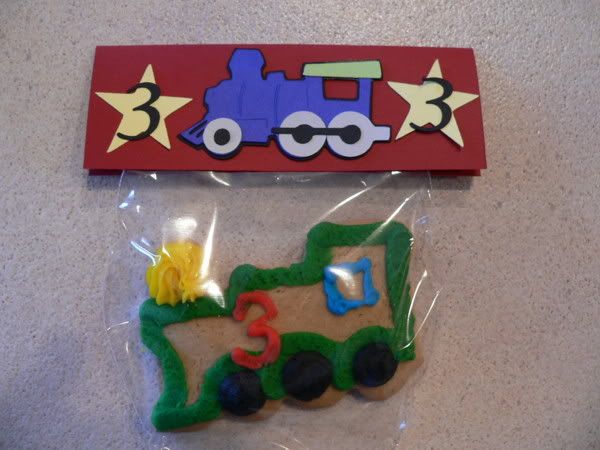
I always like to give my guests a favor as they leave a party, and one of my guests' favorites is my famous decorated molasses cookie cutouts. I usually package the cookies in clear cellophane bags with a cute ribbon and tag, but this time I decided to do things a little differently. I created little bag toppers using the same engine cut as on the invitations. I also cut some stars and the number 3 from Plantin School book and adhered those on as well. These turned out really cute...and yummy too!
The party was lots of fun and I hope that Cole has memories of his train party for years to come!
Thanks for visiting!
Kate
Subscribe to:
Posts (Atom)
