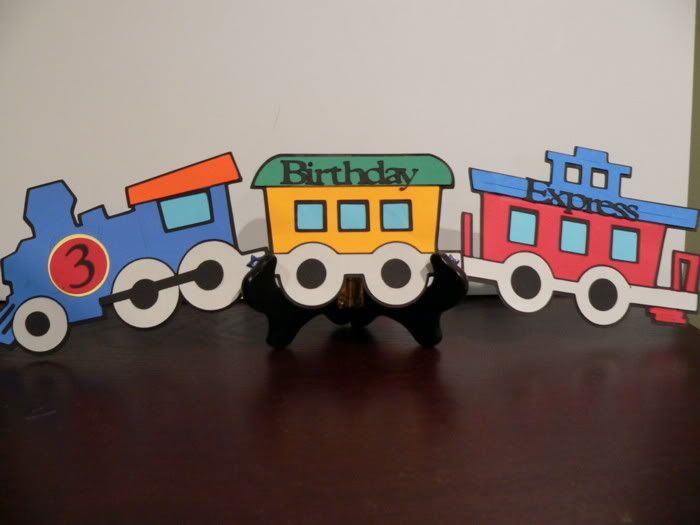
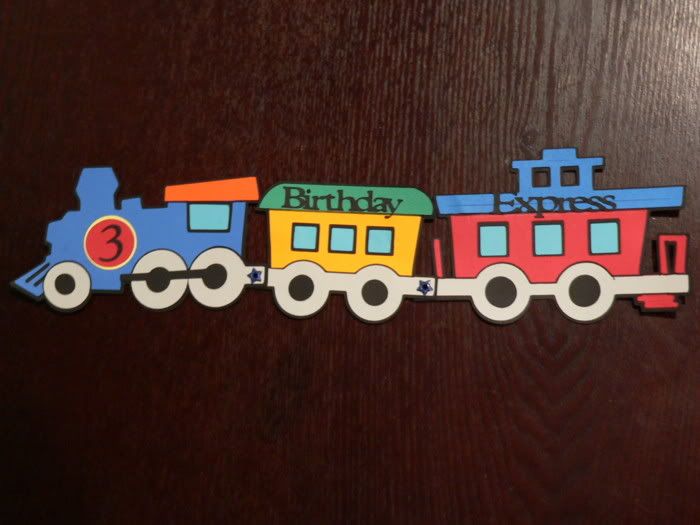
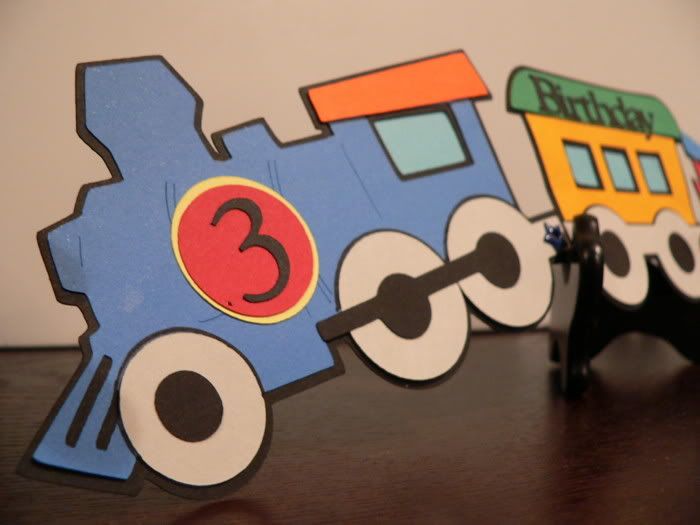
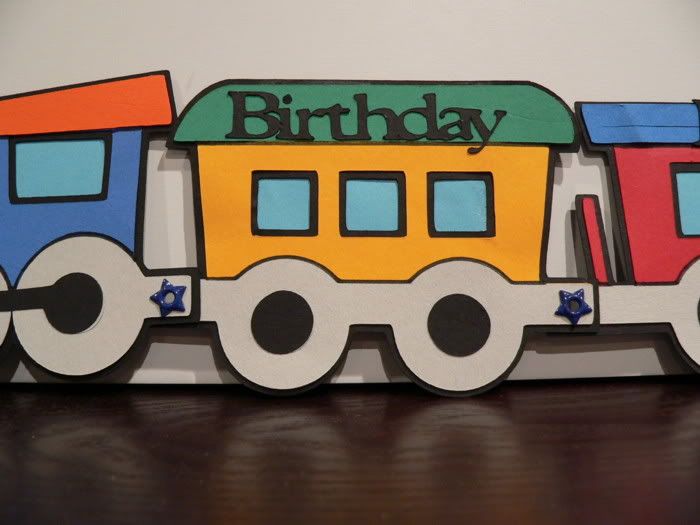
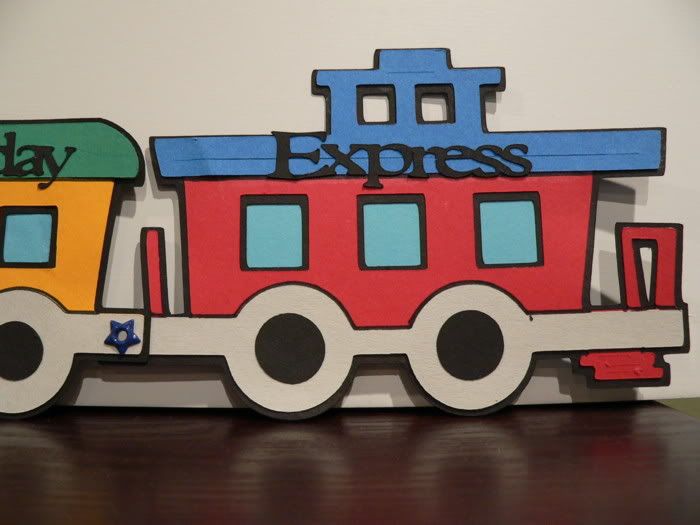
For the engine car, I cut out two circles and the number 3 using the Plantin Schoolbook cart and layered them together to create a simple embellishment. For the center car and the caboose, I cut the words "Birthday Express" using Plantin Schoolbook and my Gypsy. After all the cutting and gluing, I had to decide how to connect the cars. I decided to use star brads which turned out really cute! The brads also allowed me to "fold" the train up to fit into the envelope.
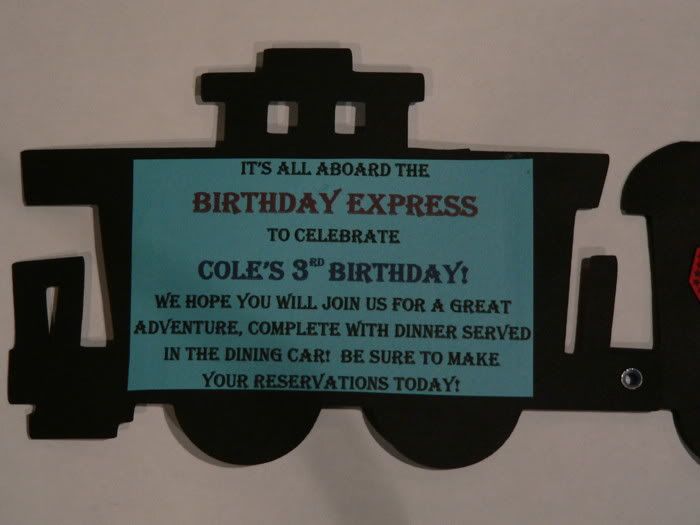
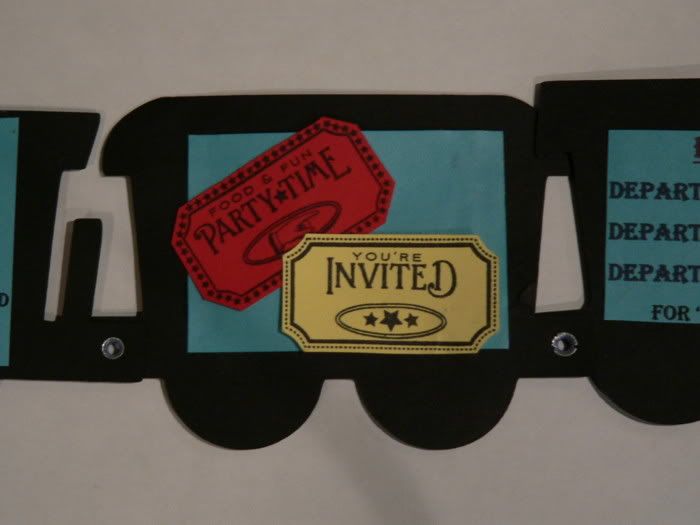
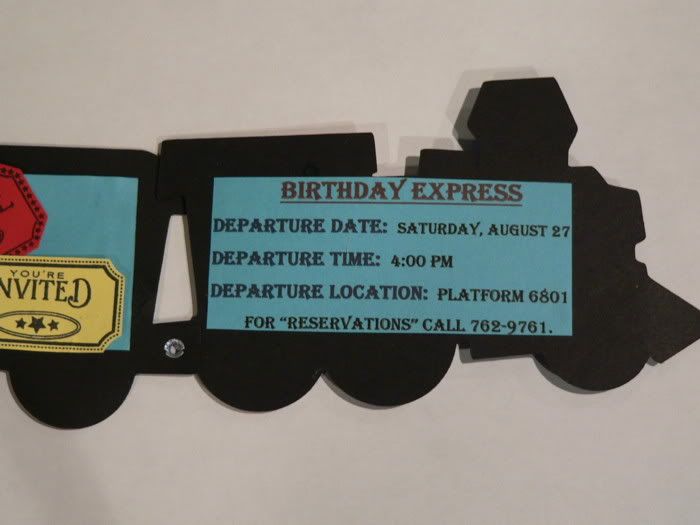
On the back of the invites I had to figure out a way to include all the party info. I thought that I would cut the blue paper in the train shapes, but then I didn't know how I would get the wording printed on them correctly. Any method I thought of became too time consuming. So, I chose to simply print the information on blue paper and cut it out in rectangles that fit inside the black train shadow cut. The little tickets on the center car were created with the PTI Just the Ticket stamp set. I stamped the images and then hand cut them. I have to admit that these are one of my favorite invitations I have ever made!
For the party, I had lots and lots of model trains to set around for decorations, and I also printed out lots of train images from the internet to hang on the walls, but of course I wanted some handmade decorations. I started with the conductors. These came from the Paperdolls for Everyday cart. I blew them up big on my Gypsy and cut them using solid colored cardstock. I wanted the overalls to be striped, so I got out my white gel pen and a ruler and added some! The little lanterns were cut with gold metallic paper and vellum.
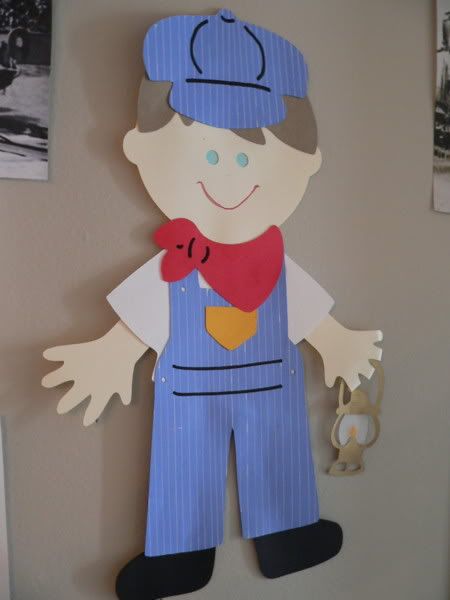
The large lanterns were cut with red and black cardstock and vellum. These cuts also came from the Paperdolls for Everyday cart. With some help from my Gypsy, I was able to hide certain cuts that allowed me to eliminate the flame when I cut the lantern out in vellum. After cutting in all three colors, I hand cut them apart and reassembled them to look like real little lanterns. These are some of my favorite decorations from this party! I just love the way the vellum looks like frosted glass.

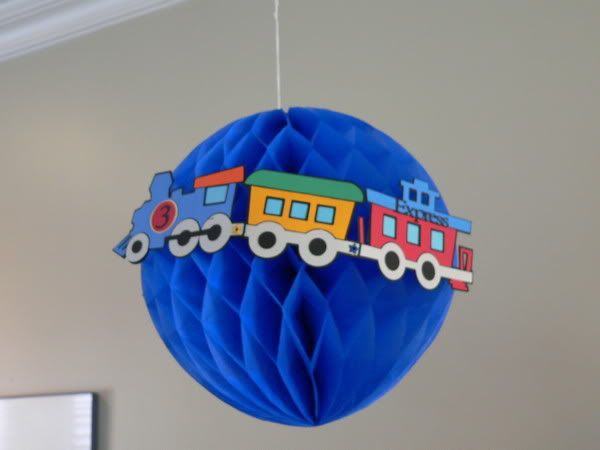
I purchased some tissue paper balls from the card store to use as decorations...but of course I couldn't leave them plain. I adhered some of the left over invites to a couple of the balls and some of the conductors and lanterns to another. These turned out really cute. I'll have to remember this for other parties!
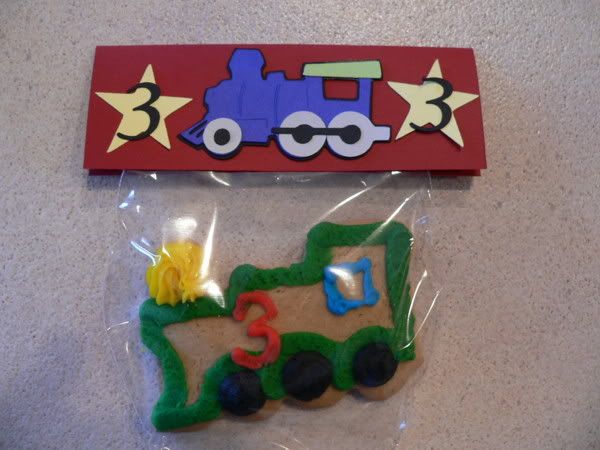
I always like to give my guests a favor as they leave a party, and one of my guests' favorites is my famous decorated molasses cookie cutouts. I usually package the cookies in clear cellophane bags with a cute ribbon and tag, but this time I decided to do things a little differently. I created little bag toppers using the same engine cut as on the invitations. I also cut some stars and the number 3 from Plantin School book and adhered those on as well. These turned out really cute...and yummy too!
The party was lots of fun and I hope that Cole has memories of his train party for years to come!
Thanks for visiting!
Kate
Fantastic! I know he will treasure that memory!
ReplyDeleteNice project! I have been following for a while but now I can't comment on a blog unless it has a pop up comment form. Hopefully anonymous will work! Great bday party ideas!
ReplyDeleteOK, that's strange....I can post a comment on an embedded comment form as "anonymous" but not using my Google ID. Well, anyway....Kate, this is Lori from Bloggin The Crafts....great project and so creative! Nice job!
ReplyDeleteWow, these are all fantastic projects! Way to go, mom!
ReplyDelete