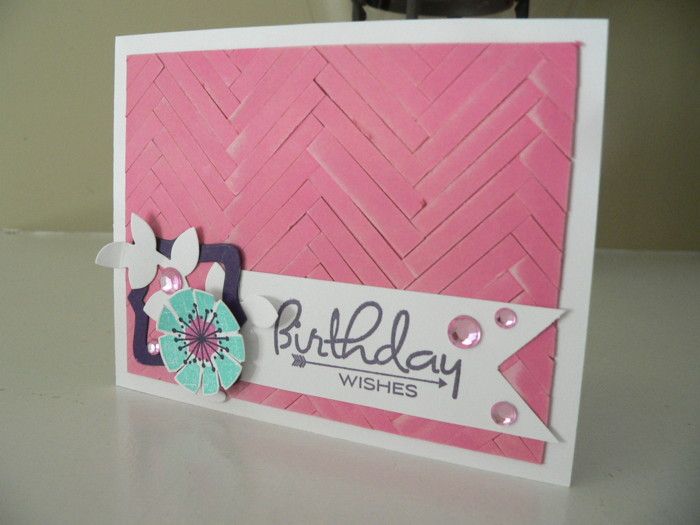
Ever since pouring the PTI Design Team projects for the January release, I kept finding myself thinking about this card by Ashley Cannon Newell:


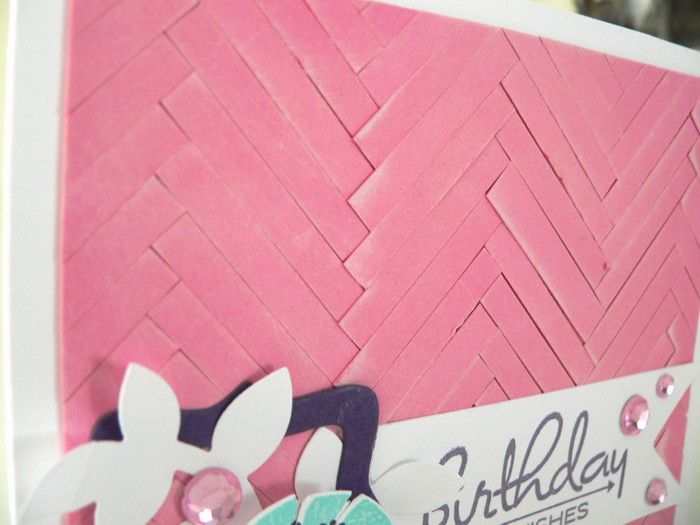
How'd I do? (Man you can really tell I need a new camera and some lighting!) What I love about this technique is that it looks like a lot more work than it really was! I simply cut uniform strips of Hibiscus Burst paper, covered a card base with ATG adhesive and arranged the strips in the herringbone pattern from left to right. Once it was finished, I decided it needed a little something more to help define the individual strips, so I rubbed the whole front with some Vintage Cream ink then some Fresh Snow ink.
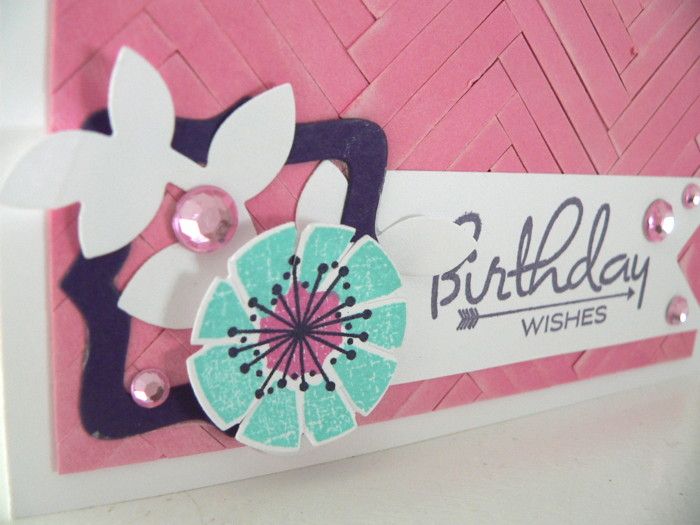
To finish things off, I added some layered accents (see die cuts listed below).
Thanks so much for visiting! I can't wait to see everyone's creations this month!
Kate
INGREDIENTS:
Paper: PTI White, Hibiscus Burst, and Royal Velvet
Stamps: PTI's Funky Florals and Birthday Style
Ink: PTI's Hawaiian Shores, Raspberry Fizz, Royal Velvet and True Black
Dies: PTI's Funky Florals, New Leaf, and Framed Out #2
Other: Rhinestones from my stash


Such an awesome design!!!
ReplyDeleteWonderful background. I am going to try this technique.
ReplyDeleteSooooo pretty! Love the background!!
ReplyDeletepretty card
ReplyDeleteThis is a great card, and I know you said it looks harder than it is, but I don't think I believe you. I'll have to try it, but I think I'll start out with a trading card size first. Then if I get to the bottom and it's all wring it won't have taken me as song to get there. You are indeed crafty, Kate!
ReplyDeleteSorry about the spelling in that post I just did..."Then, if I get to the bottom, and it's all wrong, it won't have taken me so long to get there". Haha, I wouldn't feel so guilty if I weren't an English teacher! Great cards!
ReplyDeleteLaurilee, you're cracking me up! :) It really is simple. I think I'll post a tutorial sometime soon!
DeleteThis is very pretty! I love your background! And I really like your little cluster of embellishments in the corner!
ReplyDeleteAwesome herringbone background, Kate! I think I'll try it sometime on a 3x3" card to see if my patience will last. Ashley will be proud of you for being so inspired by her card. Super job!
ReplyDeleteFun design, Kate!
ReplyDeletePS: looks like a lot of work to me too ;-)
Kate, I'm totally in awe of the amazing background you created!
ReplyDeleteVery pretty card and that background is awesome!
ReplyDeleteSo very creative & beautiful!
ReplyDeleteYou've been busy! Great hop projects- but this is out of the park!
ReplyDeleteWow!! Loving all of your FUN Creations, but this one is my FAVORITE!! Love the fun sentiment and the colors!! Thanks for sharing and have a Fabulous Week!! ;)
ReplyDeleteAwesome! Love this herringbone pattern!! I also love your other creations!! The raspberry and chocolate (yum, lol)). And Jake's card is awesome, too!!!
ReplyDeleteVery cool idea. Your card looks woven with that herringbone effect. I like it. Perfect balance with your embellishments. Great job!
ReplyDeleteFabulous herringbone - gives a stunning texture to the card!
ReplyDeleteI'm late to the hop, Kate, and came here from your second entry. All your cards are really great! I love how the shading you did on your pattern really accents it. To me it looks like a lovely basket weave, which is a wonderful background for your lovely flower and bling!
ReplyDeleteThanks for coming by to see me and leaving some love! It's a pleasure to meet you!! I've joined as a follower and would love to have you join me, if you like! Enjoy the week! Hugs, Darnell
I have made cards with the herringbone pattern...but never the way you have done yours...I really like your variation....Your card is really creative and beautiful!
ReplyDeleteLove the incredible background you created! This is a fantastic card my dear!!!! Found you via Darnell! I love when she spotlights others on her blog! So fun to meet new people this way! :)
ReplyDelete