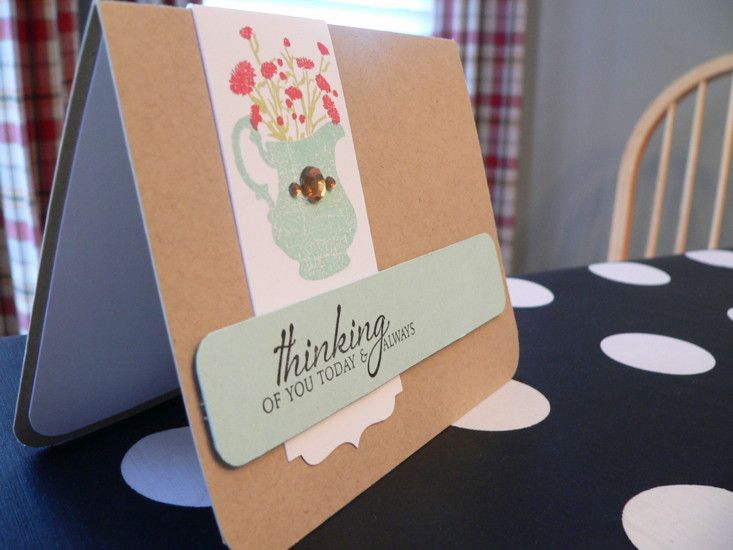
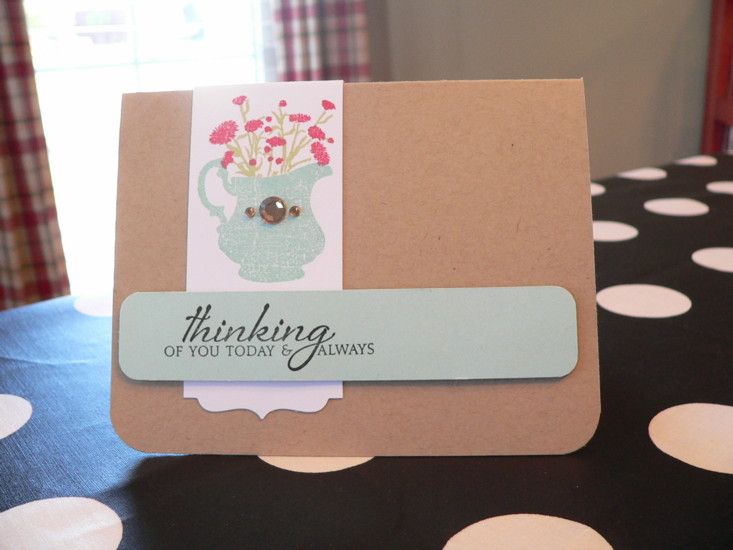
Hi everyone. Today's post features a card I made recently for a friend who just lost her dad to a long battle with cancer.
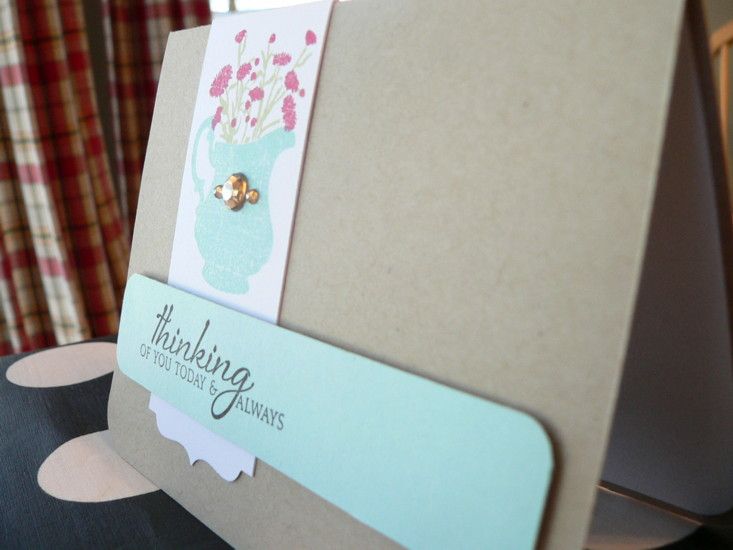
I wanted to keep it pretty simple, so I just used a few PTI stamps and dies. The craft, white and aqua mist carstock are all PTI. The white strip was cut using one of the PTI Half & Half dies, and was stamped with the pitcher and flower images from PTI's Iconic Images stamp set. The aqua mist strip of paper was hand cut and stamped with a sentiment from the Iconic Images set as well.
I felt like the pitcher needed just a little something else, so I added a few Recollections adhesive rhinestones. I also used my corner chomper to round the two corners of the card as well as the corners of the aqua strip.
Simple, quick, but quite lovely I think. Hope she enjoys it.
As always, thanks for visiting!
Kate
As a mom of three boys, the only time I seem to have to do the things I love is on the fly. I love card making as well as other paper related crafts and this blog is dedicated to that passion!
Sunday, November 6, 2011
Saturday, November 5, 2011
Criss-Cross Birthday Card for Chris
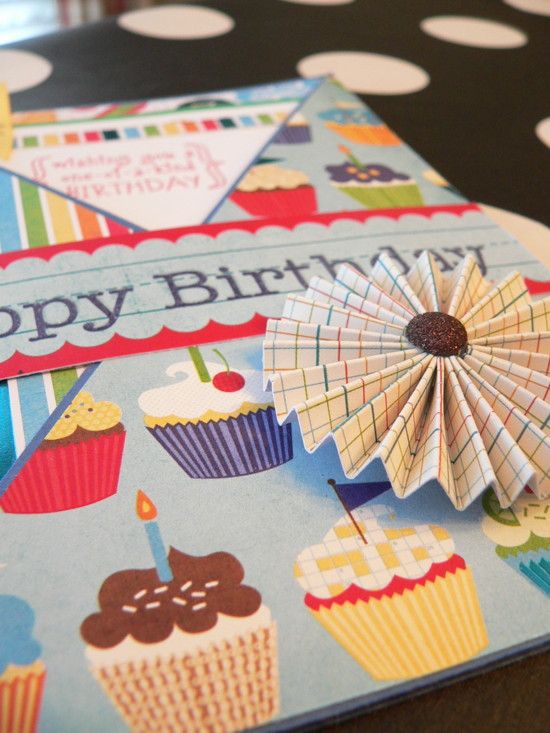
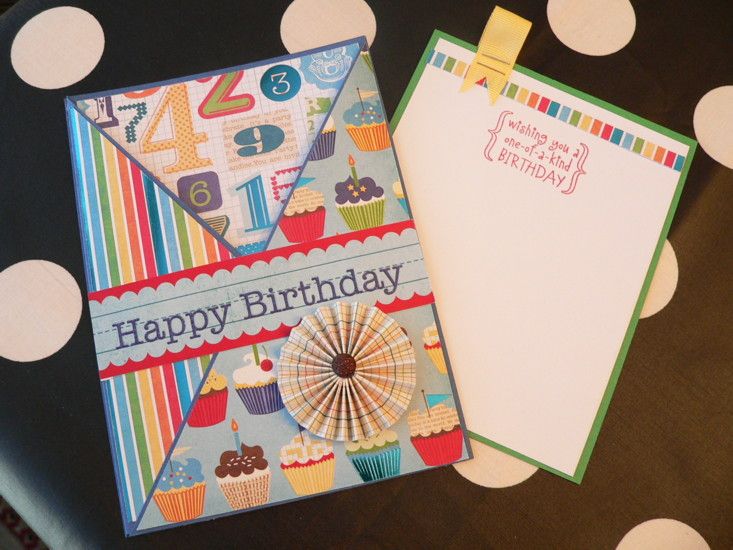
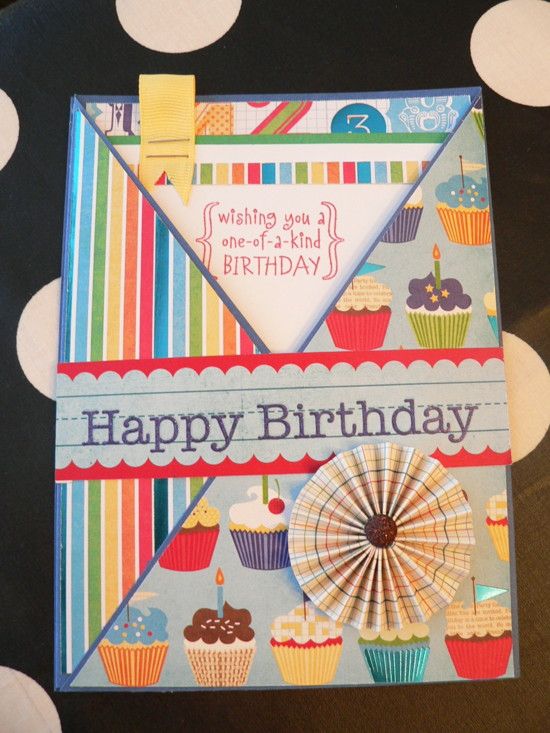
Hey everyone! Tonight I have a card that was inspired by one I saw on Faith Abigail's blog recently...it's called a criss-cross card, and I made this one for my brother Chris...fitting, don'cha think? The full card measures 5"x7", and has a pull out card that measures 4.75"x6". I used papers from a DCWV stack I picked up recently at JoAnn's, called the Celebration Stack. I just LOVE the paper in this stack!! So stinkin' fun!
I could go into tons of directions on how to make this card (which really was very simple actually), but if you want to see a video tutorial of a similar card, you can visit Faith Abigail's blog.
I will add that I hand made the rosette that is at the bottom of the card. I took a 1.5"x12" strip of paper, scored it every 1/4", folded it accordian style, glued the two ends together, adhered the rosette to a plain circle backing, and added an adhesive glitter dot to the front. Super simple!
Thanks so much for visiting!!
Kate
Tuesday, October 25, 2011
Papertrey October Blog Hop
Hi everyone! I really wanted to participate in Papertrey's Blog Hop this month, and I nearly ran out of time! I was the very last entry and got it in right at 11:30pm!
I just love the picture Nichole and the team used as inspiration this month:
How could you not be inspired by this photo?
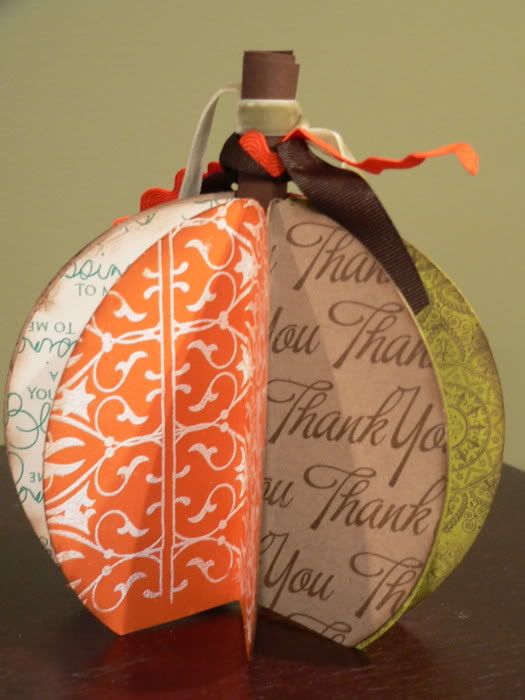
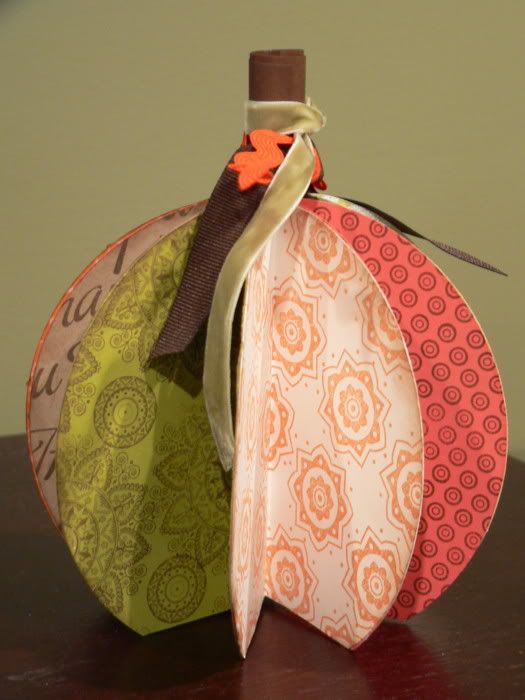
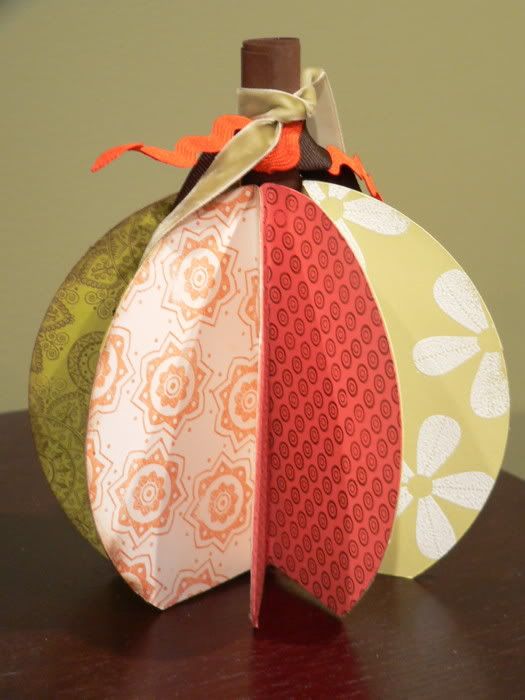
At first, I thought that I would make a card, but then I was surfing the net the other day and I came across this post by Jamie Lee at Bits of Paper. Her simple tutorial on how to make paper pumpkins gave me a great idea. Instead of using preprinted patterned paper for this project, I made my own using my limited stash of Papertrey stamps and papers. From the pictures below you will see that I used PTI Vintage Cream, Kraft, Mellon Berry, Spring Moss, New Leaf, and Orange Zest cardstock cut into 5.5" circles.
I used the following stamp sets to create the different papers: Iconic Images, Holiday Photo Finishers, Beatiful Blooms II, Background Basics: Retro, Signature Greetings, Mehndi Medallion, and Big & Bold Wishes. Most were stamped with some old SU inks, but a couple were stamped with VersaMark and then heat embossed with white embossing powder.
The stem on top is just a piece of Chocolate cardstock rolled up and tied with a few ribbons from my stash.
I threw this project together in about an hour and a half, which was pretty quick considering I had not designed even one paper before starting. If I had had more time, I would have added a few leaves to the top and done some better photography, but what you see is what you get! Hope you like it!
As always, thanks for visiting!
Kate
Thursday, October 13, 2011
Masculine Card
Hi again everyone!! Can you believe it? Two posts in one day! This next card is one that I put together last night because I was itching to use some of my treasured PTI products! I have been so inspired by their release projects this week, that I just had to put something together myself!
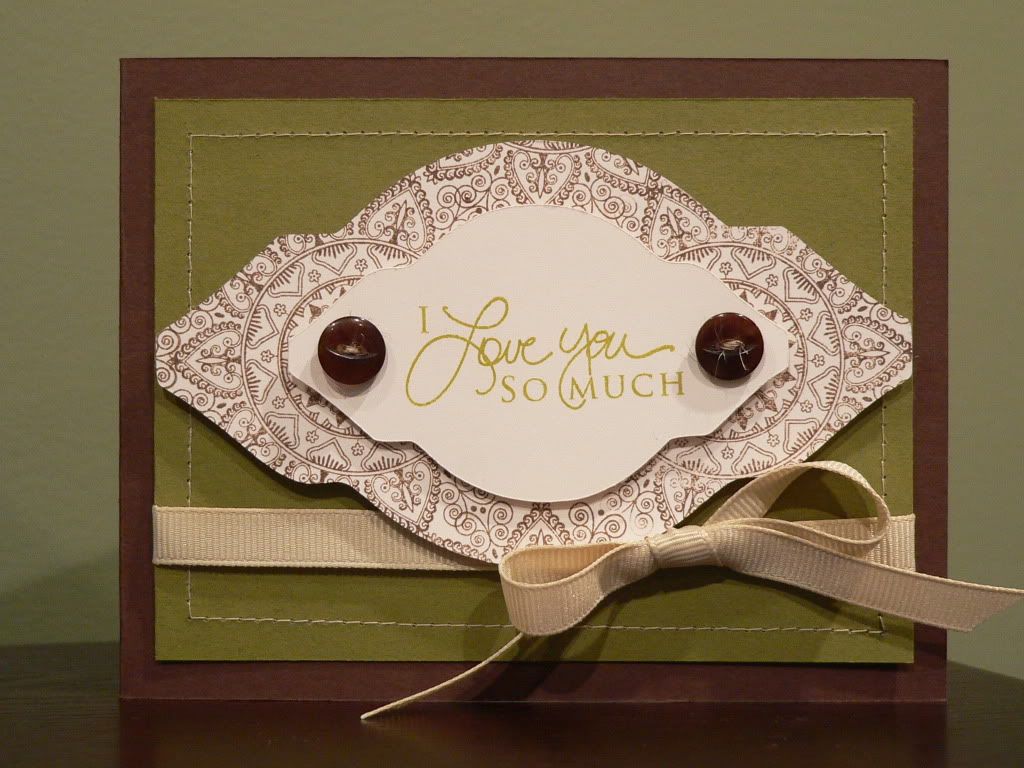
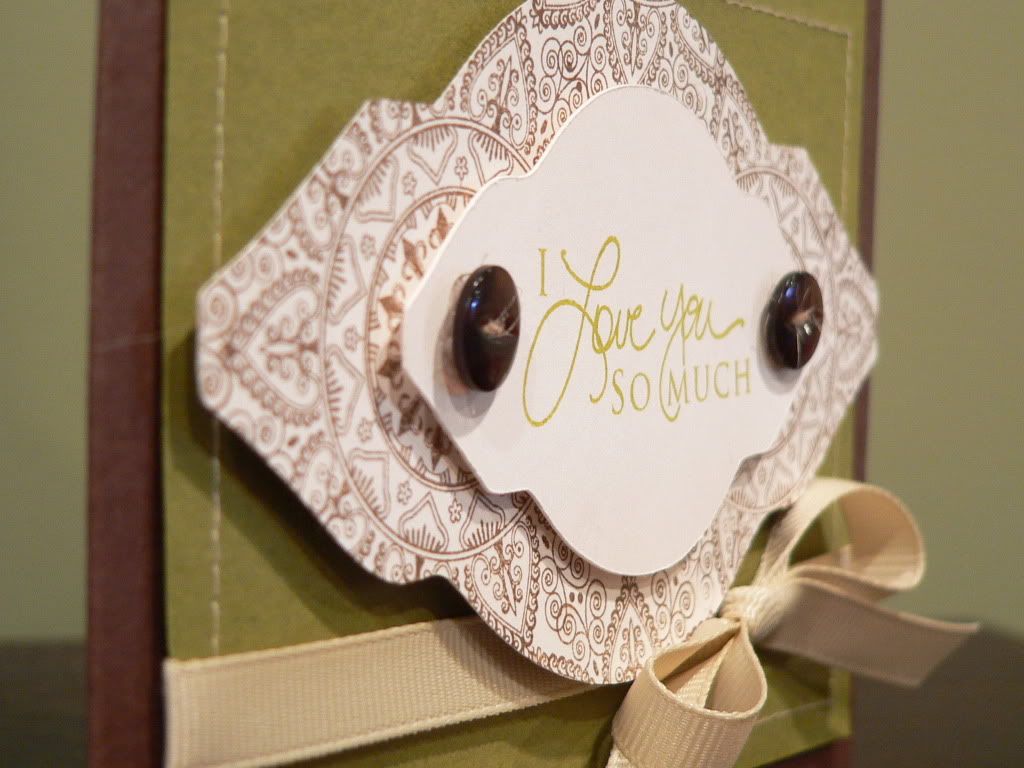
The base cardstock is PTI's Dark Chocolate, the card front is PTI's Ripe Avocado. The two marquees are cut using the Papertrey Mat Stack 2 dies and were cut out of PTI's Vintage Cream cardstock.
I used PTI's Mehndi Medallion to stamp the designs on the larger marquee and then used PTI's Signature Greetings for the sentiment. I did some sewing on the sewing machine, and added a couple of buttons and a ribbon.
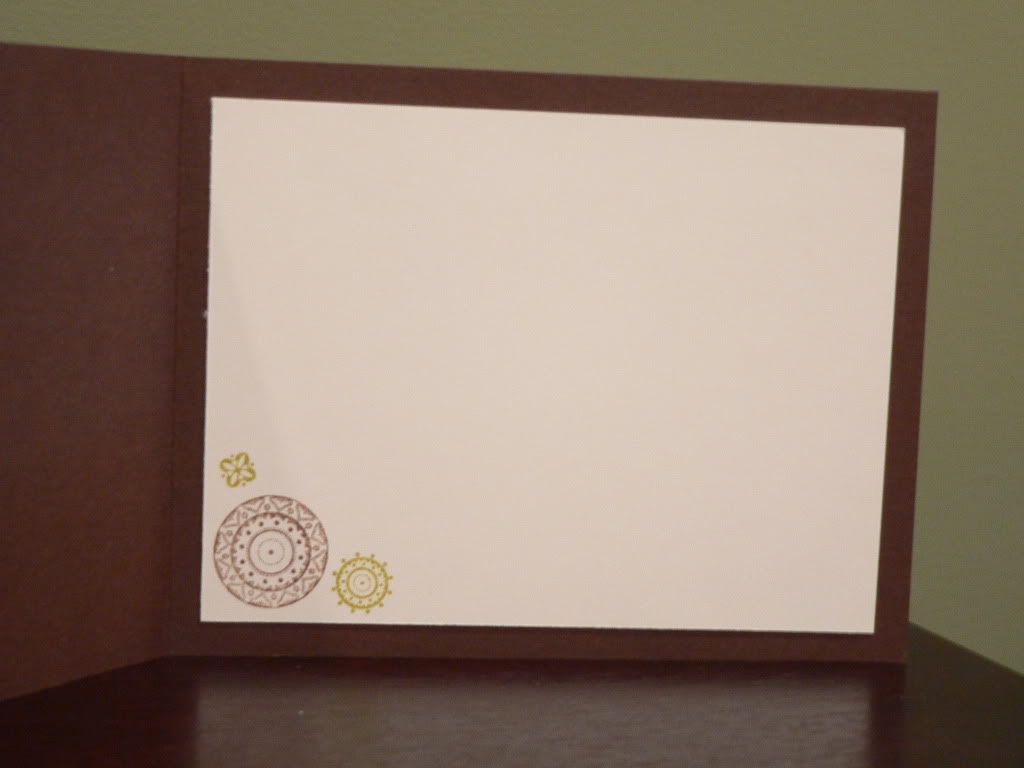
The inside of the card has Vintage Cream cardstock stamped with a few of the smaller Mehndi Medallion stamps.
This is by far one of my favorite cards I have made in quite a while. I haven't yet decided who the recipient will be, but I'm thinking it might be my dad because he would appreciate the work I put into it and I have some things that I have felt I have needed to say to him recently (especially how much I love him).
So there you go! I'm sort of on a creative streak so hopefully there will be more posts soon!
As always, thanks for visiting!
Kate
The base cardstock is PTI's Dark Chocolate, the card front is PTI's Ripe Avocado. The two marquees are cut using the Papertrey Mat Stack 2 dies and were cut out of PTI's Vintage Cream cardstock.
I used PTI's Mehndi Medallion to stamp the designs on the larger marquee and then used PTI's Signature Greetings for the sentiment. I did some sewing on the sewing machine, and added a couple of buttons and a ribbon.
The inside of the card has Vintage Cream cardstock stamped with a few of the smaller Mehndi Medallion stamps.
This is by far one of my favorite cards I have made in quite a while. I haven't yet decided who the recipient will be, but I'm thinking it might be my dad because he would appreciate the work I put into it and I have some things that I have felt I have needed to say to him recently (especially how much I love him).
So there you go! I'm sort of on a creative streak so hopefully there will be more posts soon!
As always, thanks for visiting!
Kate
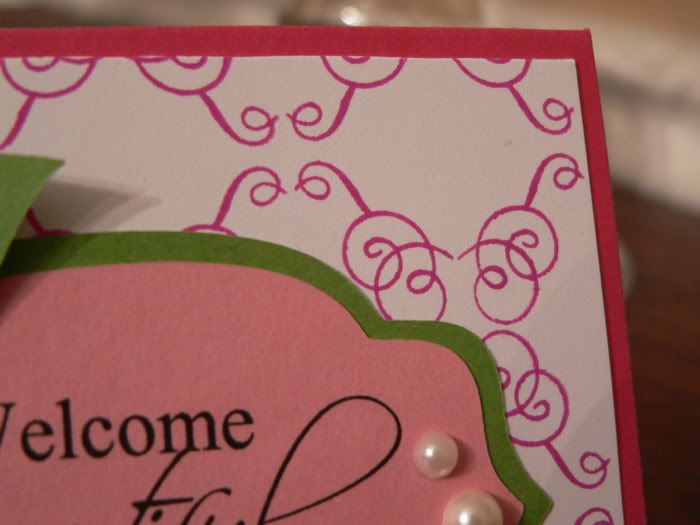
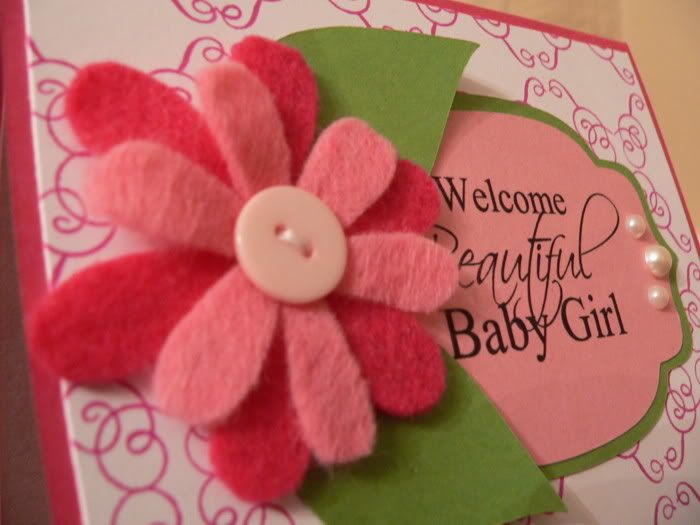
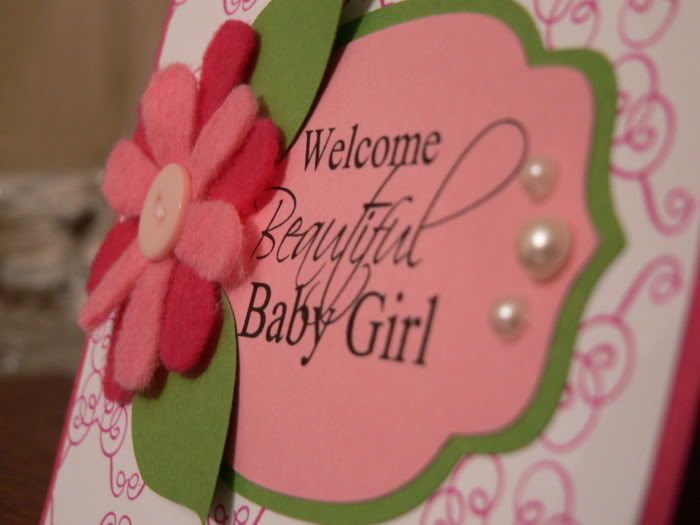
Beautiful Baby Girl
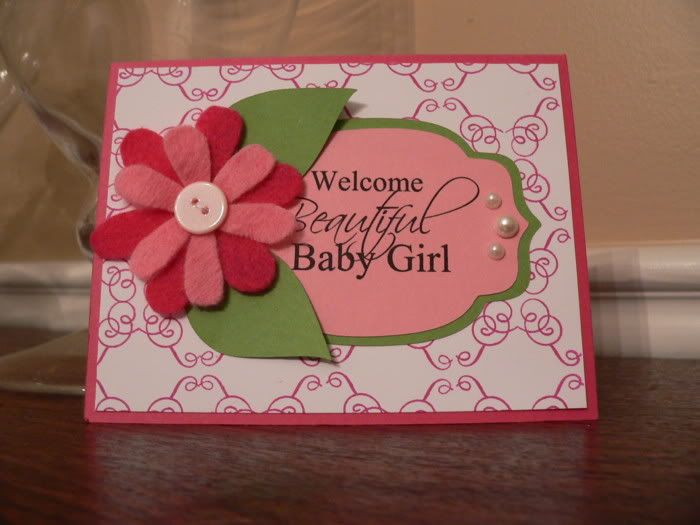
Hey everyone! Sorry I've been absent for a few days...life, 'ya know?? Anyway, here's another card in my baby boutique series. This one is obviously for a little girl. For the sentiment background I used some "nesti" files I ran accross on the SCAL website. I created the sentiment on my computer.
The background paper is a pattern I created using a stamp from PTI's Half and Half set. I orignially designed this pattern for one of their Make it Monday challenges (create a background using a non-background stamp), but I never got around to posting it on their website.
The felt flower was used by cutting some cardstock flowers using the Cricut (April Showers cart) and then adhering the flowers to the felt and hand cutting them out. I have not figured out the trick to cutting felt with the Cricut. If you have any tips I'd love to hear them!!
Well, that's it for my baby boutique series! The sixth card I made was a copy of one I made in the past which you can see here. I stopped by the boutique today and found out that about 9 of the 30 cards have sold. I'm pretty pleased, but I hope that the volume picks up.
You're in for a real treat today (ha, ha), because I am going to actually do a second post!! Can you believe it? Stay tuned...
Thanks for visiting!
Kate
Monday, October 3, 2011
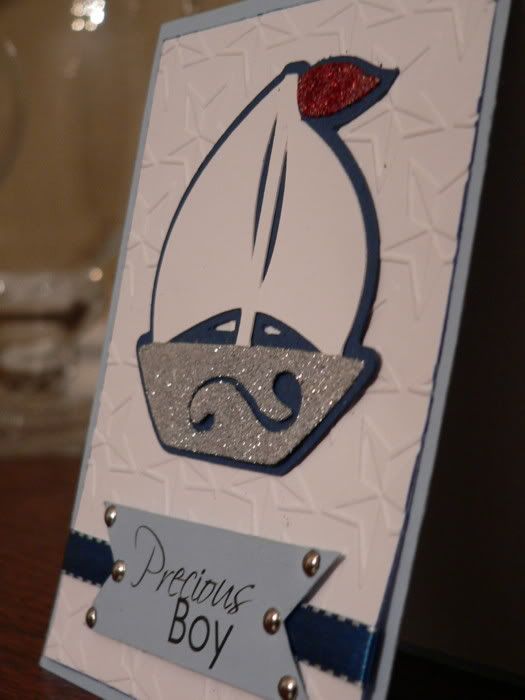
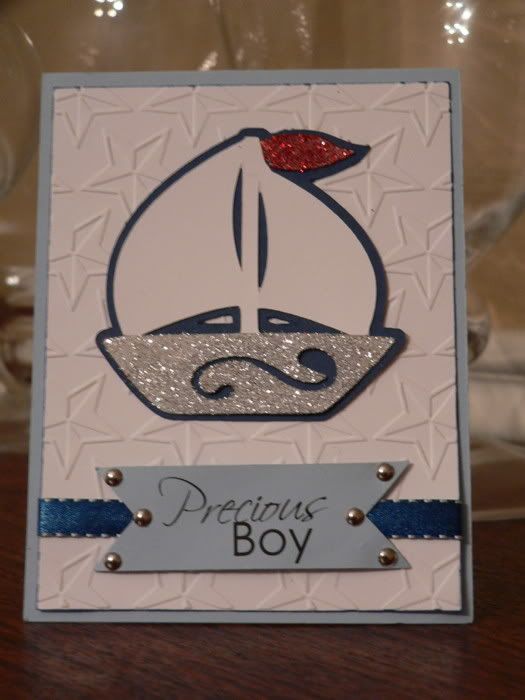
Precious Boy
Hi everyone! Today's card is the next in my series of baby cards I made for a local boutique. This one is for a baby boy.
The card base is spring rain cardstock from PTI and the card front is PTI's white cardstock that was embellished with the star Cuttlebug folder.
The boat cut is from Gypsy Wanderings. Once it was cut on the cricut, I cut it apart in order to apply the glitter to the base and the flag.
The sentiment banner was hand cut, and the sentiment was created on my computer. The little silver brads were added to help reinforce the nautical feel.
As always, thanks for visiting! Stop by again soon!
Kate
The card base is spring rain cardstock from PTI and the card front is PTI's white cardstock that was embellished with the star Cuttlebug folder.
The boat cut is from Gypsy Wanderings. Once it was cut on the cricut, I cut it apart in order to apply the glitter to the base and the flag.
The sentiment banner was hand cut, and the sentiment was created on my computer. The little silver brads were added to help reinforce the nautical feel.
As always, thanks for visiting! Stop by again soon!
Kate
Saturday, October 1, 2011
Welcome Sweetpea!
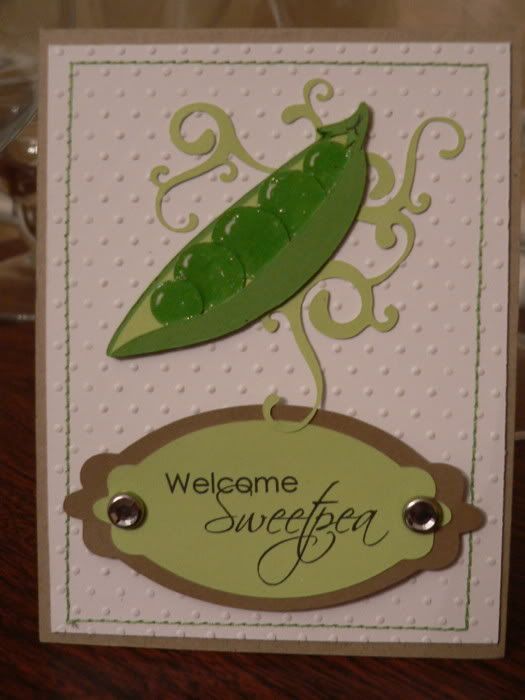
Hi everyone! I'm back with another baby card I made for the boutique where I am starting to sell my "goods". This one is another gender neutral card...and it's also probably my favorite one from the whole set!
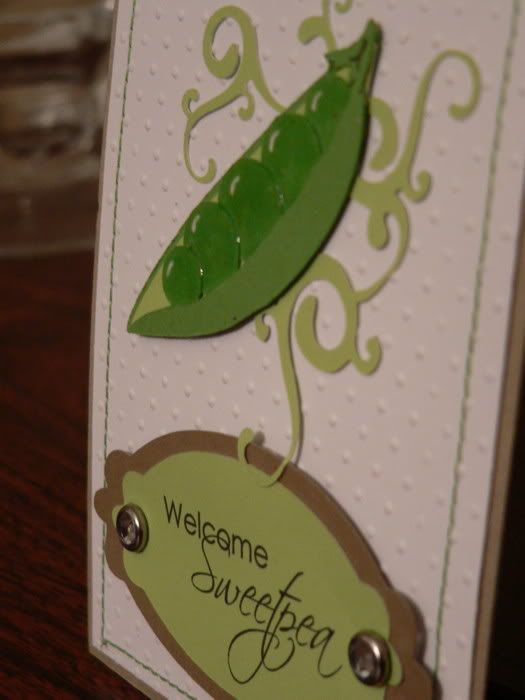
The base is kraft cardstock from PTI and the face is white cardstock from PTI embossed with the swiss dots Cuttlebug folder. I actually broke out my sewing machine for the first time for card making! It was way easier than I expected! If you have never sewn on paper, I highly recommend you try it! I'm thinking about making a video tutorial on this...what do you think?
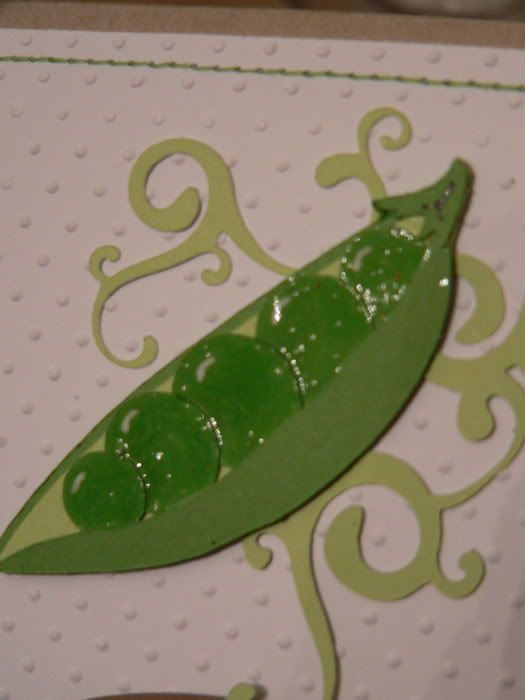
The peapod cut began as an svg file I found on the SCAL message boards. I then added a few flourishes I found in the SCAL program. I used a white gel pen on the little peas and then covered them in Glossy Accents.
The marquis with the sentiment was another svg cut file I found on the SCAL message boards. I used my computer and printer to create and print the sentiment. I love mixing fonts like this!
I added a couple of gems and...wahlah!!
Hope you like it! I'll be back soon with another baby card creation! Thanks for visiting!
Kate
The base is kraft cardstock from PTI and the face is white cardstock from PTI embossed with the swiss dots Cuttlebug folder. I actually broke out my sewing machine for the first time for card making! It was way easier than I expected! If you have never sewn on paper, I highly recommend you try it! I'm thinking about making a video tutorial on this...what do you think?
The peapod cut began as an svg file I found on the SCAL message boards. I then added a few flourishes I found in the SCAL program. I used a white gel pen on the little peas and then covered them in Glossy Accents.
The marquis with the sentiment was another svg cut file I found on the SCAL message boards. I used my computer and printer to create and print the sentiment. I love mixing fonts like this!
I added a couple of gems and...wahlah!!
Hope you like it! I'll be back soon with another baby card creation! Thanks for visiting!
Kate
Subscribe to:
Posts (Atom)